I’m sure you guys have all seen the trendy letter & number cake all over your Instagram feed and wanted one for yourself, but the price was a little hefty! However, it’s not that difficult and pretty simple to make so I figured I would make a blog post showing you how to make a letter cake. Traditionally, many people like to make these as cookies, but I wanted to make it into an actual cake instead. I’m here to help you save $200+ and show you how I made this cake with a special cake pan, piping bag, and candy.
While making this cake, I learned some tips and know exactly what to do to make it perfect for the next time I do it. This blog post will have the steps recipes, and some tips. I promise you, this was SO much easier than I thought it would be and the main thing you’ll need to make the perfect letter cake is this cake pan set!
*Click the image to be redirected to the link*
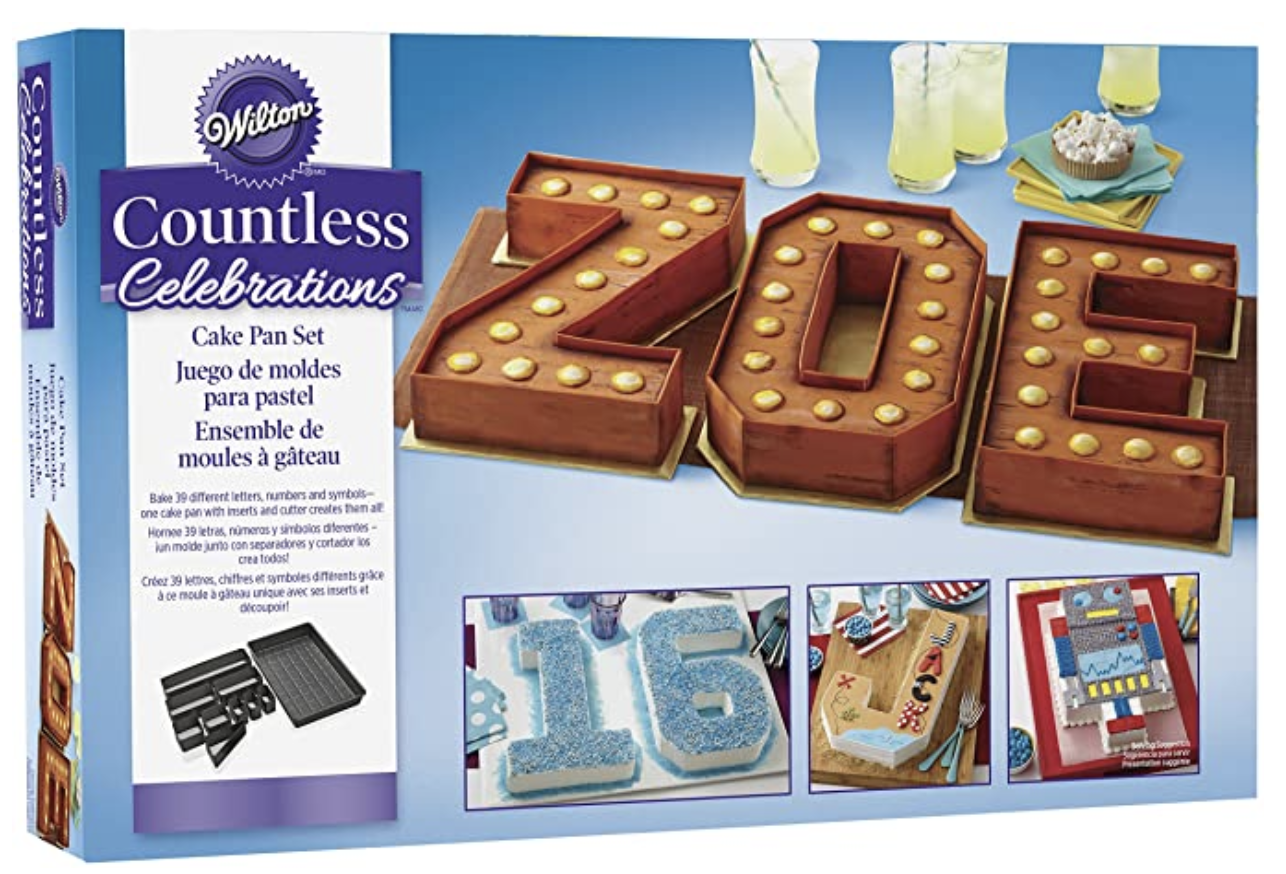
Honestly when I first started looking up pans to make the cake, I wasn’t keen on buying a cake pan for just one letter. Then, I came across this pan and was SHOOK. It allows you to bake 39 different letters, numbers, and even symbols! It even comes with cutters to help shape the cake perfectly and has a guide inside to show you how to position the separators to make the cake in whatever letter or number you’d want. If you’d want to make more than one letter or number, I’d recommend getting two.
Now let’s get onto the actual process..
CHOCOLATE CAKE RECIPE:
(BOX CAKE WORKS JUST AS GOOD, skip this part if you’d prefer that!)
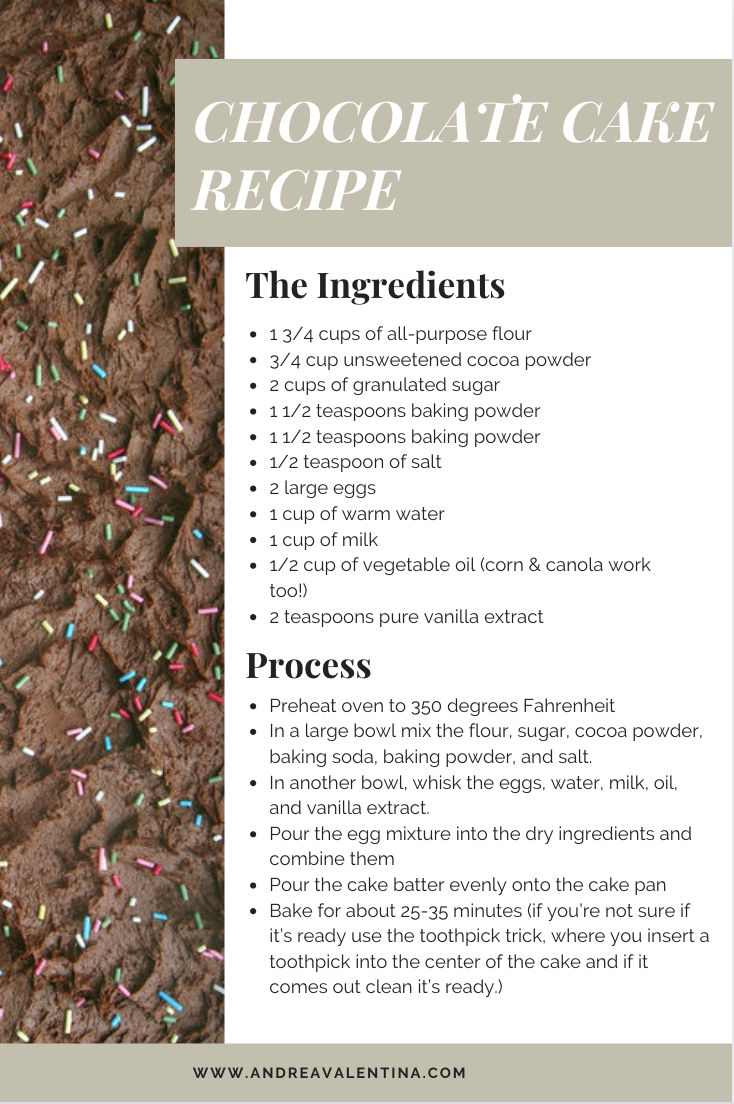
- Preheat the oven to 350 degrees Fahrenheit
- Position the cake pan into the letter or number you’d like & spray everything with non-stick PAM so it won’t stick to the pan
- In a large bowl mix the flour, sugar, cocoa powder, baking soda, baking powder, and salt.
- In another bowl, whisk the eggs, water, milk, oil, and vanilla extract.
- Pour the egg mixtures into the dry ingredients and combine them
- Pour the cake batter evenly onto the cake pan
- Bake for about 25-35 minutes (if you’re not sure if it’s ready use the toothpick trick, where you insert a toothpick into the center of the cake and if it comes out clean it’s ready.)
Once you take the cake out of the oven, let it cool for about 10-15 minutes until you take it out. I recommend putting a baking tray over it so you can flip it onto the tray. Once it’s on the tray, put it in the freezer so it doesn’t crumble and fall a part when you start to cut it. While the cake is in the freezer, I like to make the icing for the cake and clean up a little bit.
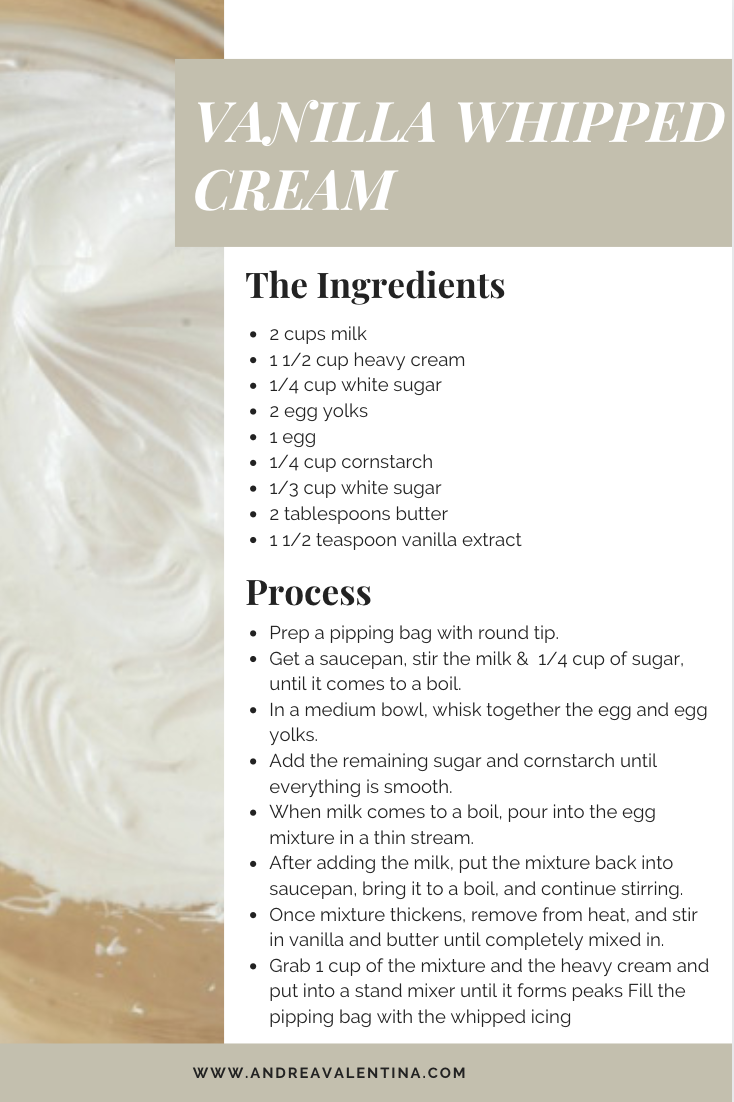
VANILLA WHIPPED CREAM:
( You’re going to want to make this, it’s so creamy and delicious!)
- To start, prep a pipping bag with a round tip so you get the perfect icing shape
- Then get a saucepan, stir the milk and 1/4 cup of sugar, until it comes to a boil over medium heat
- In a medium bowl, whisk together the egg and egg yolks. Start to add the remaining sugar and cornstarch until everything is smooth
- Once the milk comes to a boil, slowly pour it into the egg mixture in a thin stream so the eggs don’t cook.
- After adding the milk, put the mixture back into the saucepan, bring it to a boil, and continue to stir
- When the mixture thickens, remove from heat and stir in vanilla and butter until completely mixed in
- Grab 1 cup of the mixture and the heavy cream and put into a stand mixer until it forms peaks
- Fill the pipping bag with the whipped icing
Now that the icing is ready, it’s time to take the cake out of the freezer and cut it into layers. It’d be super helpful to have the cake leveler that helps you cut the cake evenly. However, if you don’t have this you could just as easily get a big knife and slice the cake into layers as well. For my cake I only did two layers, but the possibilities are endless and if you can make more then two layers go off! I will also say that I chose to use a whipped cream sort of icing instead of a real heavy icing because of the amount this type of cake requires! It would’ve been too rich and too sugary if I had used a regular icing.
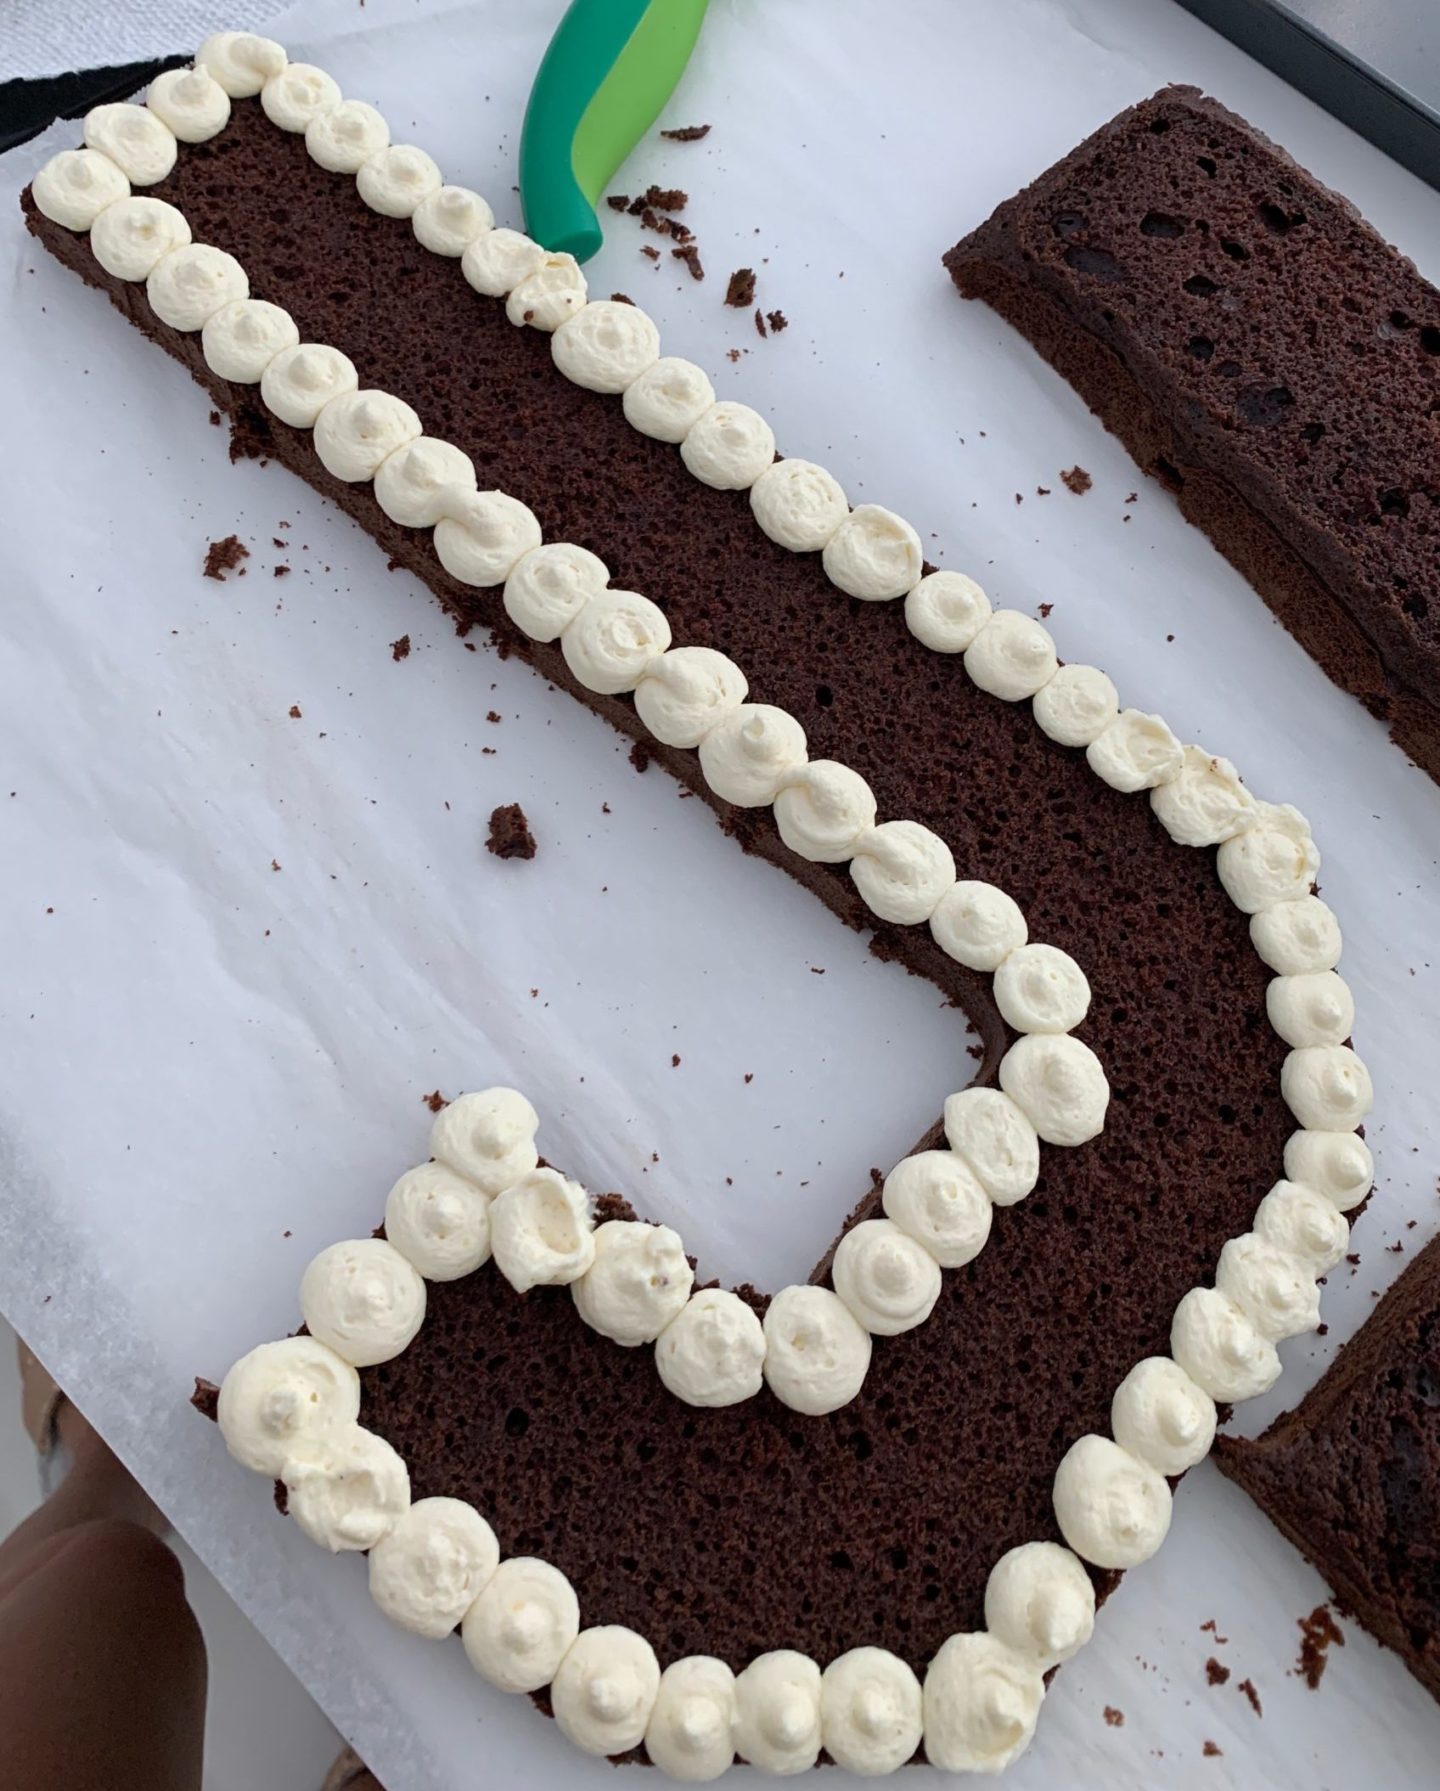
Now that all of the layers are sliced and you’ve set them all aside separately it’s time to start pipping the cake! Here is how I pipped the inner layer of the cake so that it gives that signature look where you can see it from the sides. I tried to make them all even, but we can’t always make everything perfect! After pipping the inner layer and the top, it’s all on you!
This is the best part of making a letter cake, decorating! I made this cake for my boyfriend and put all of his favorite candy on it, but Amazon also has some great molds that you could buy to decorate it as well! The options are endless when it comes to decor. You could add macaroons, strawberries, flowers, etc.
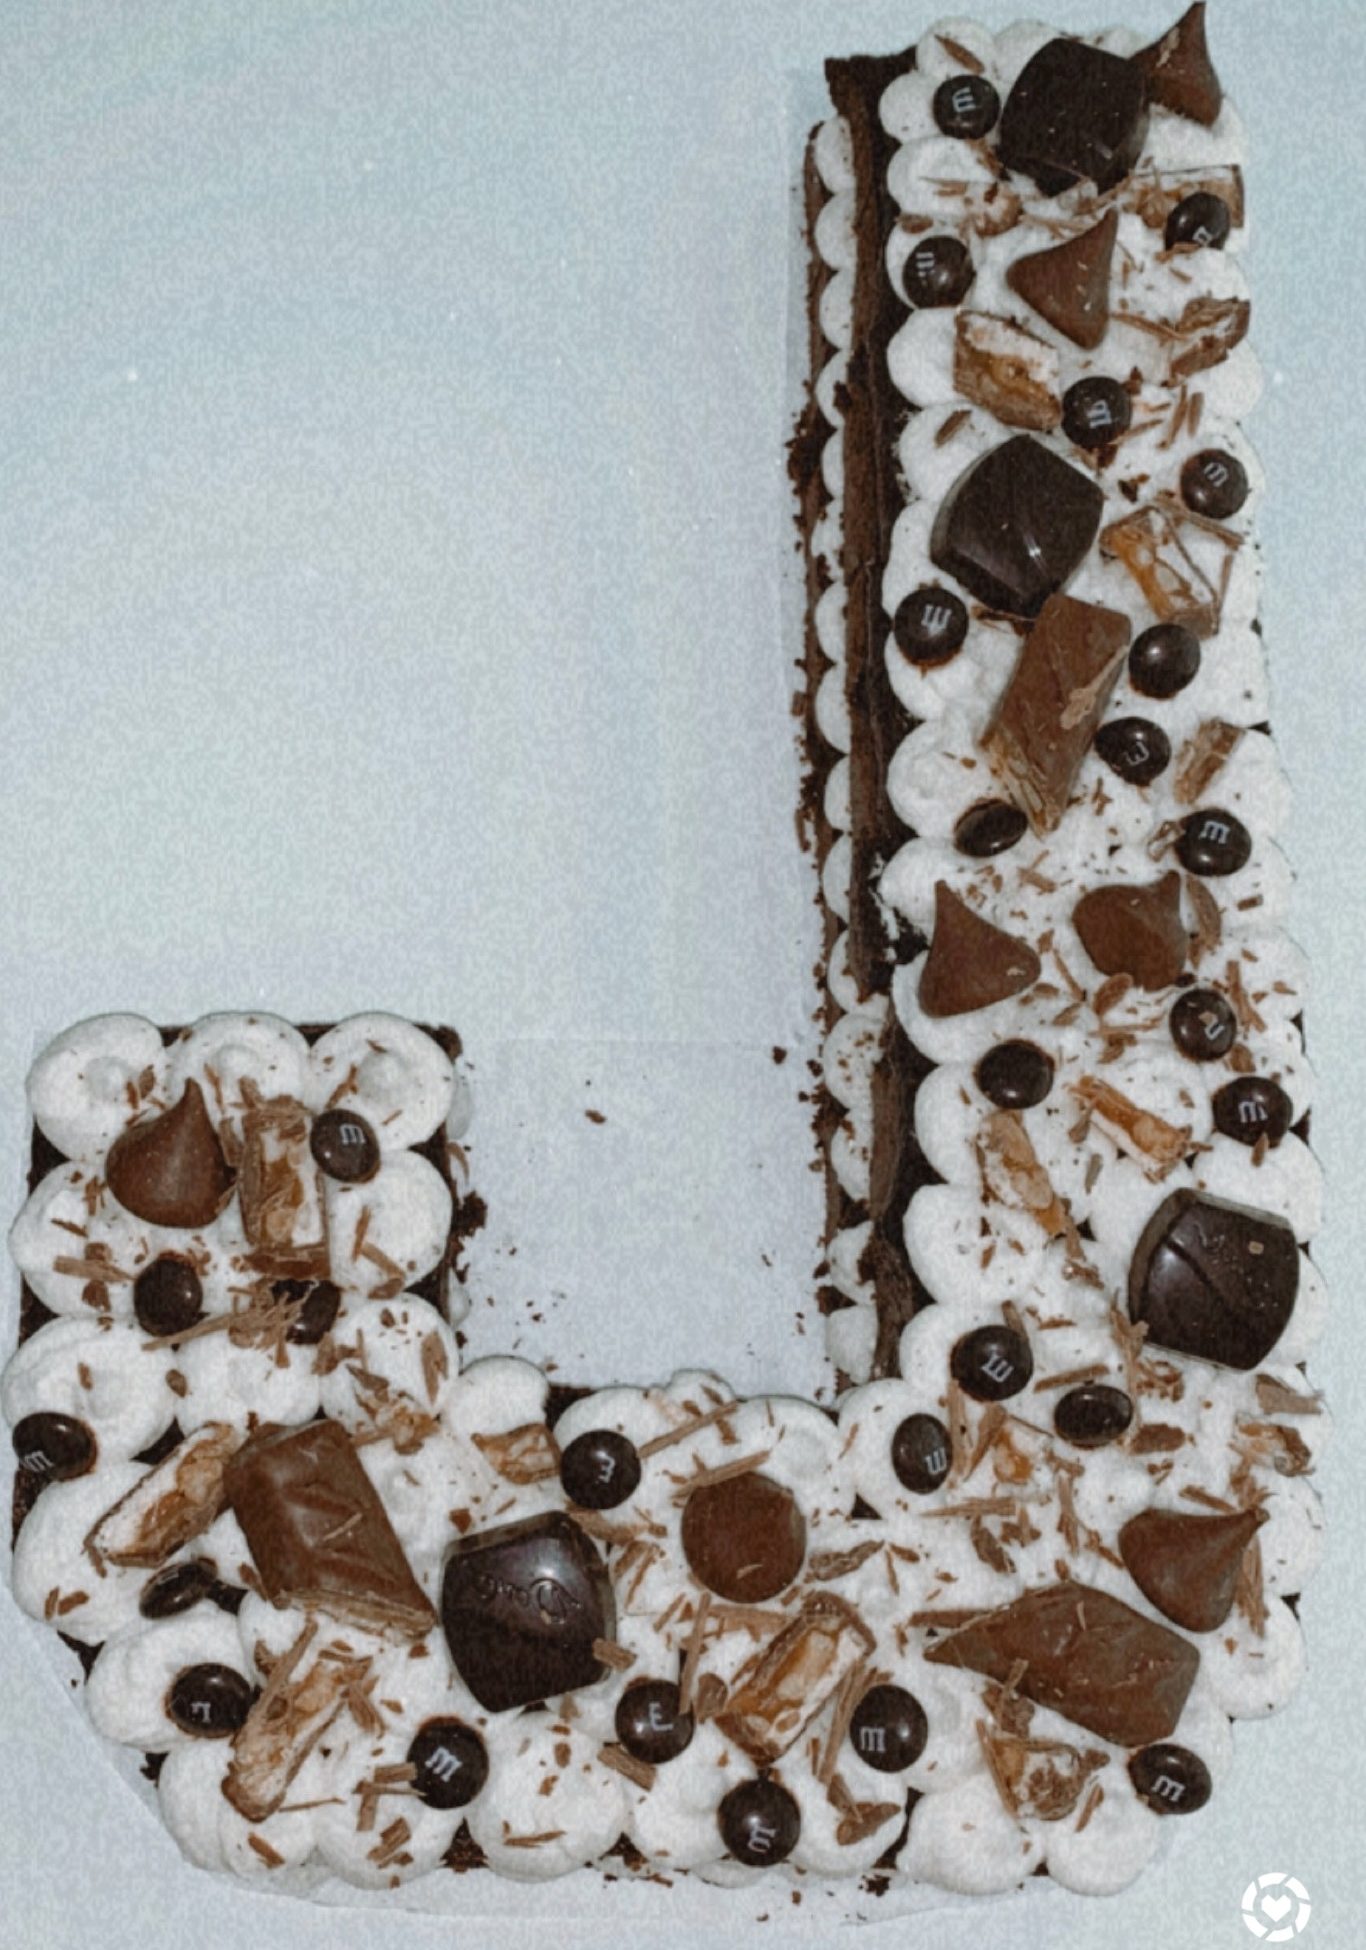
This was the end result and I loved it so much, the best part was how GOOD it tasted. I also know this was a total information over-load post, but I promise it’s really not that complicated! Obviously if you have any questions, I’d also be happy to answer them in the comments or even in DM’s. If you do end up making one, I’d also LOVE to see it so tag me!






What do you think?